

We have accomplished a lot of things over the last week in order to get Tia Road worthy for the drive this coming weekend……
Where to Start……..
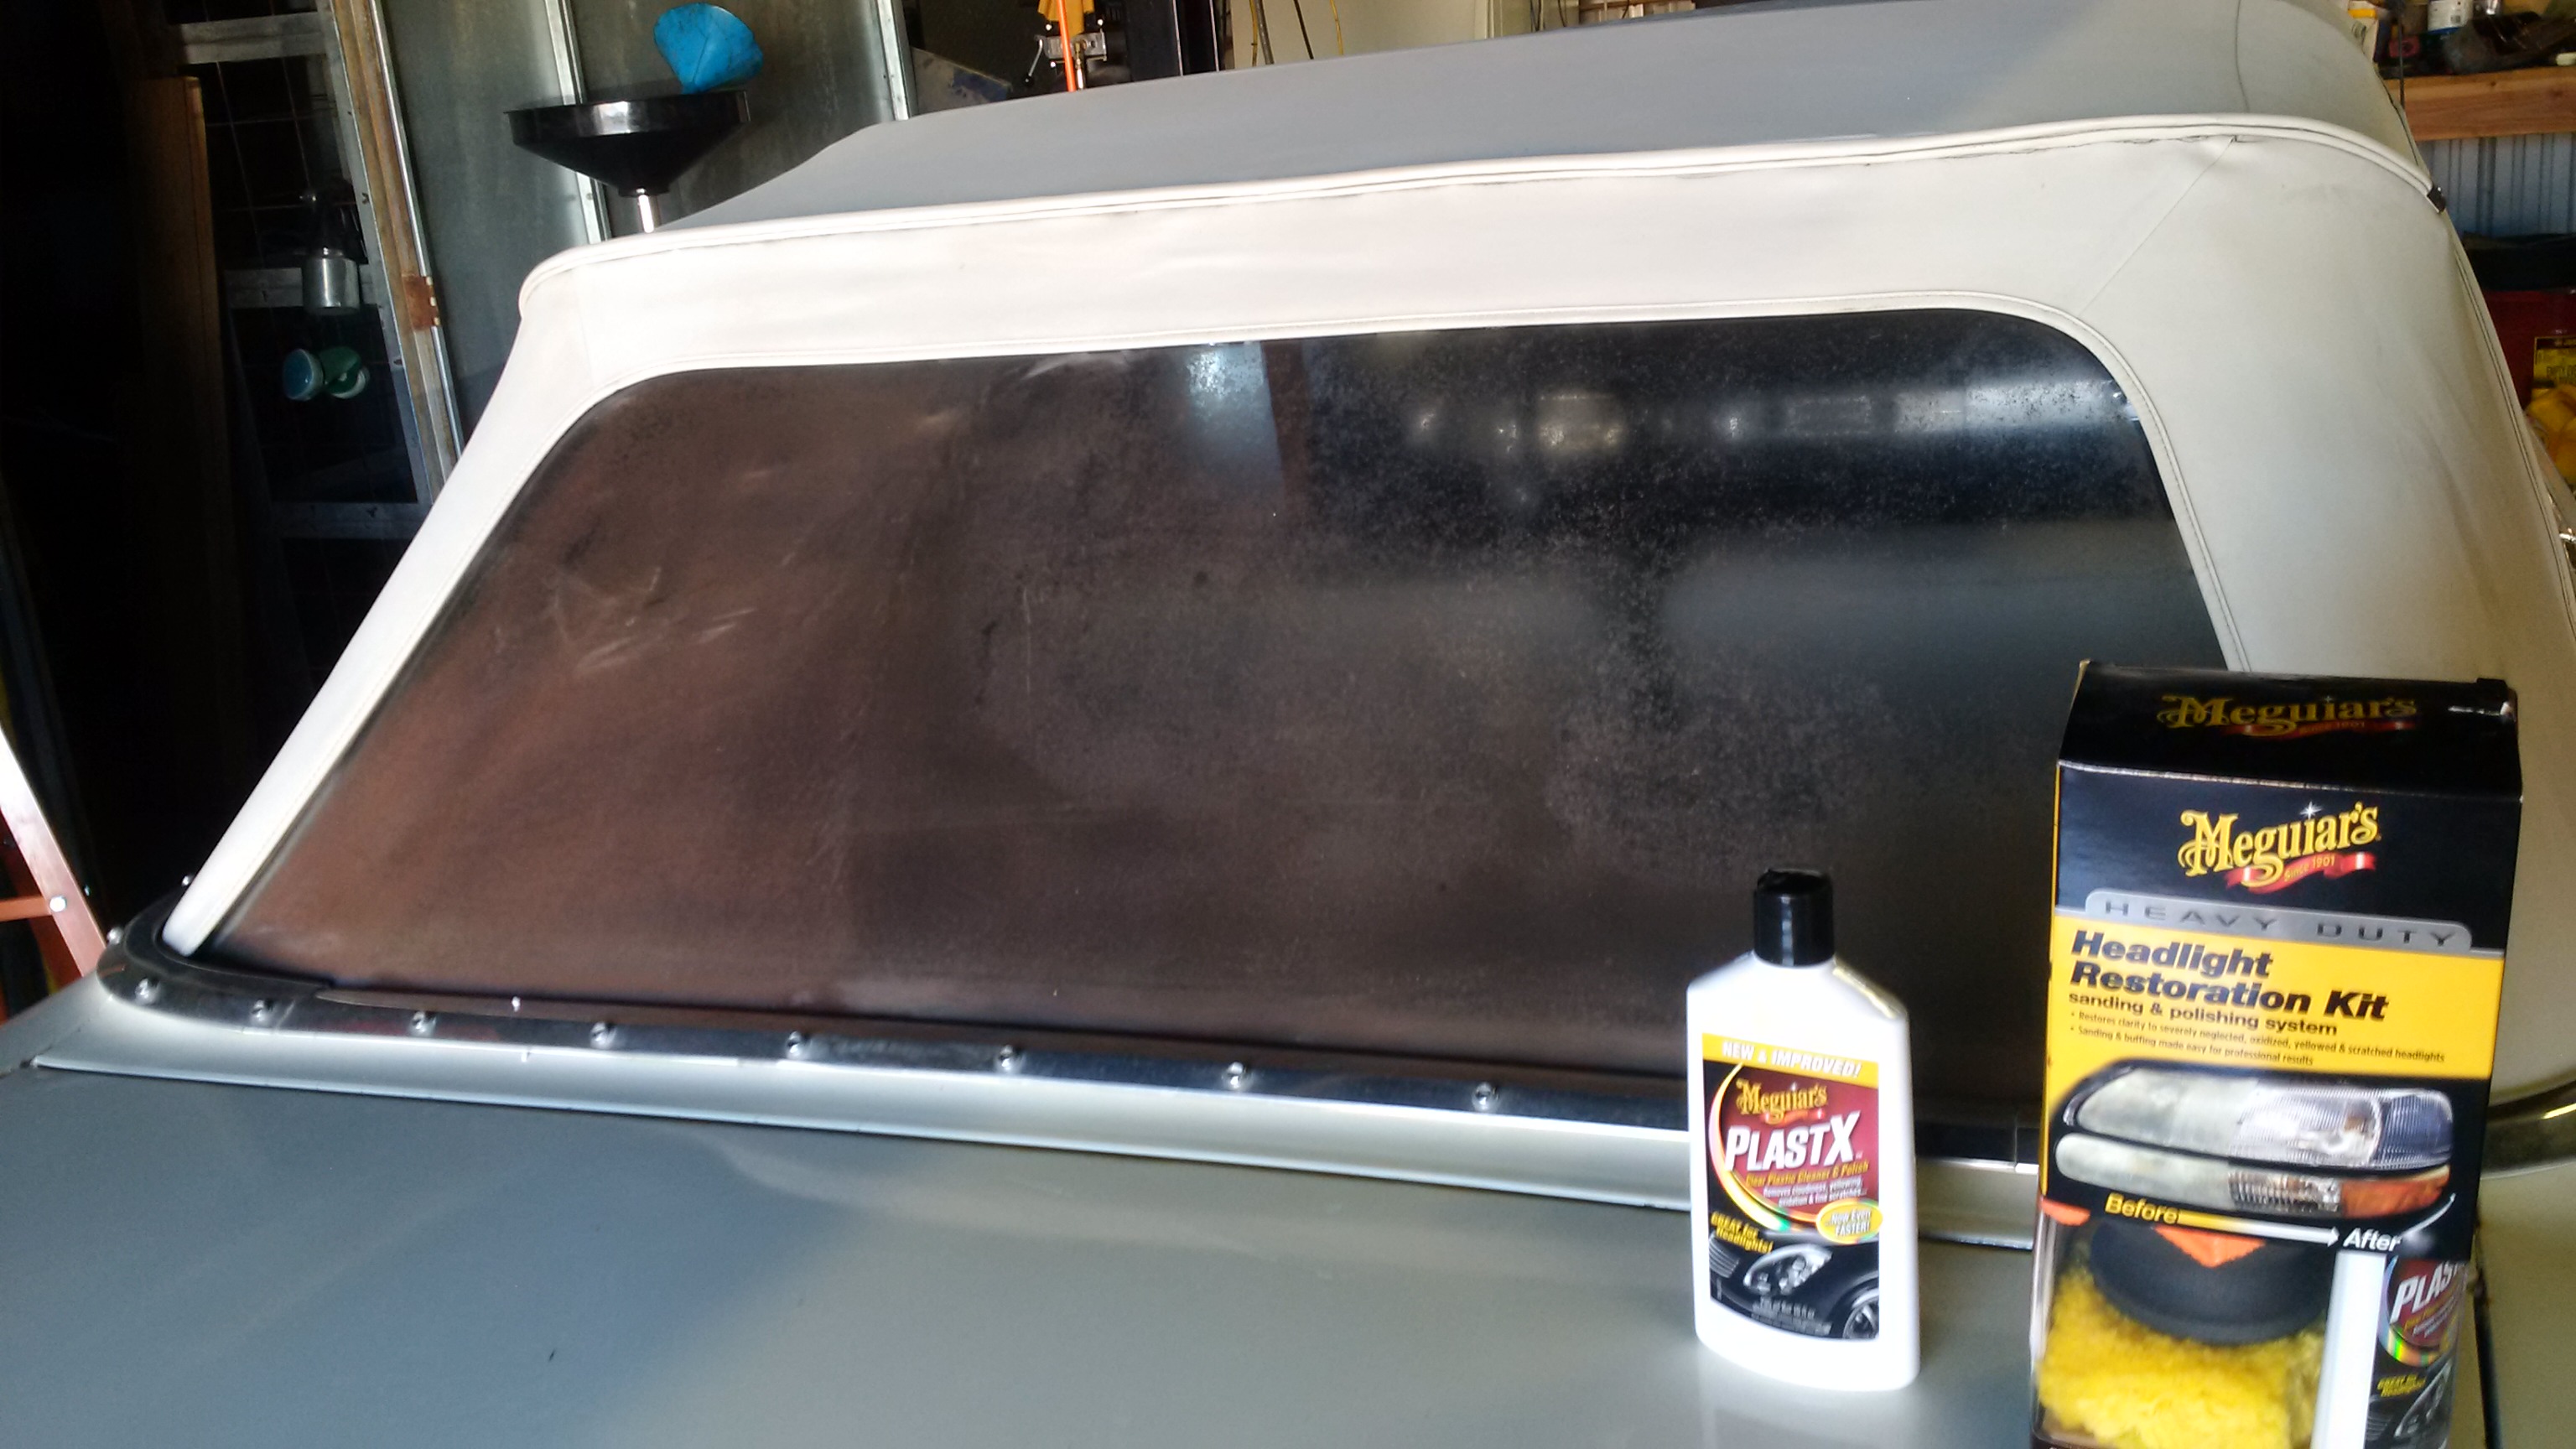
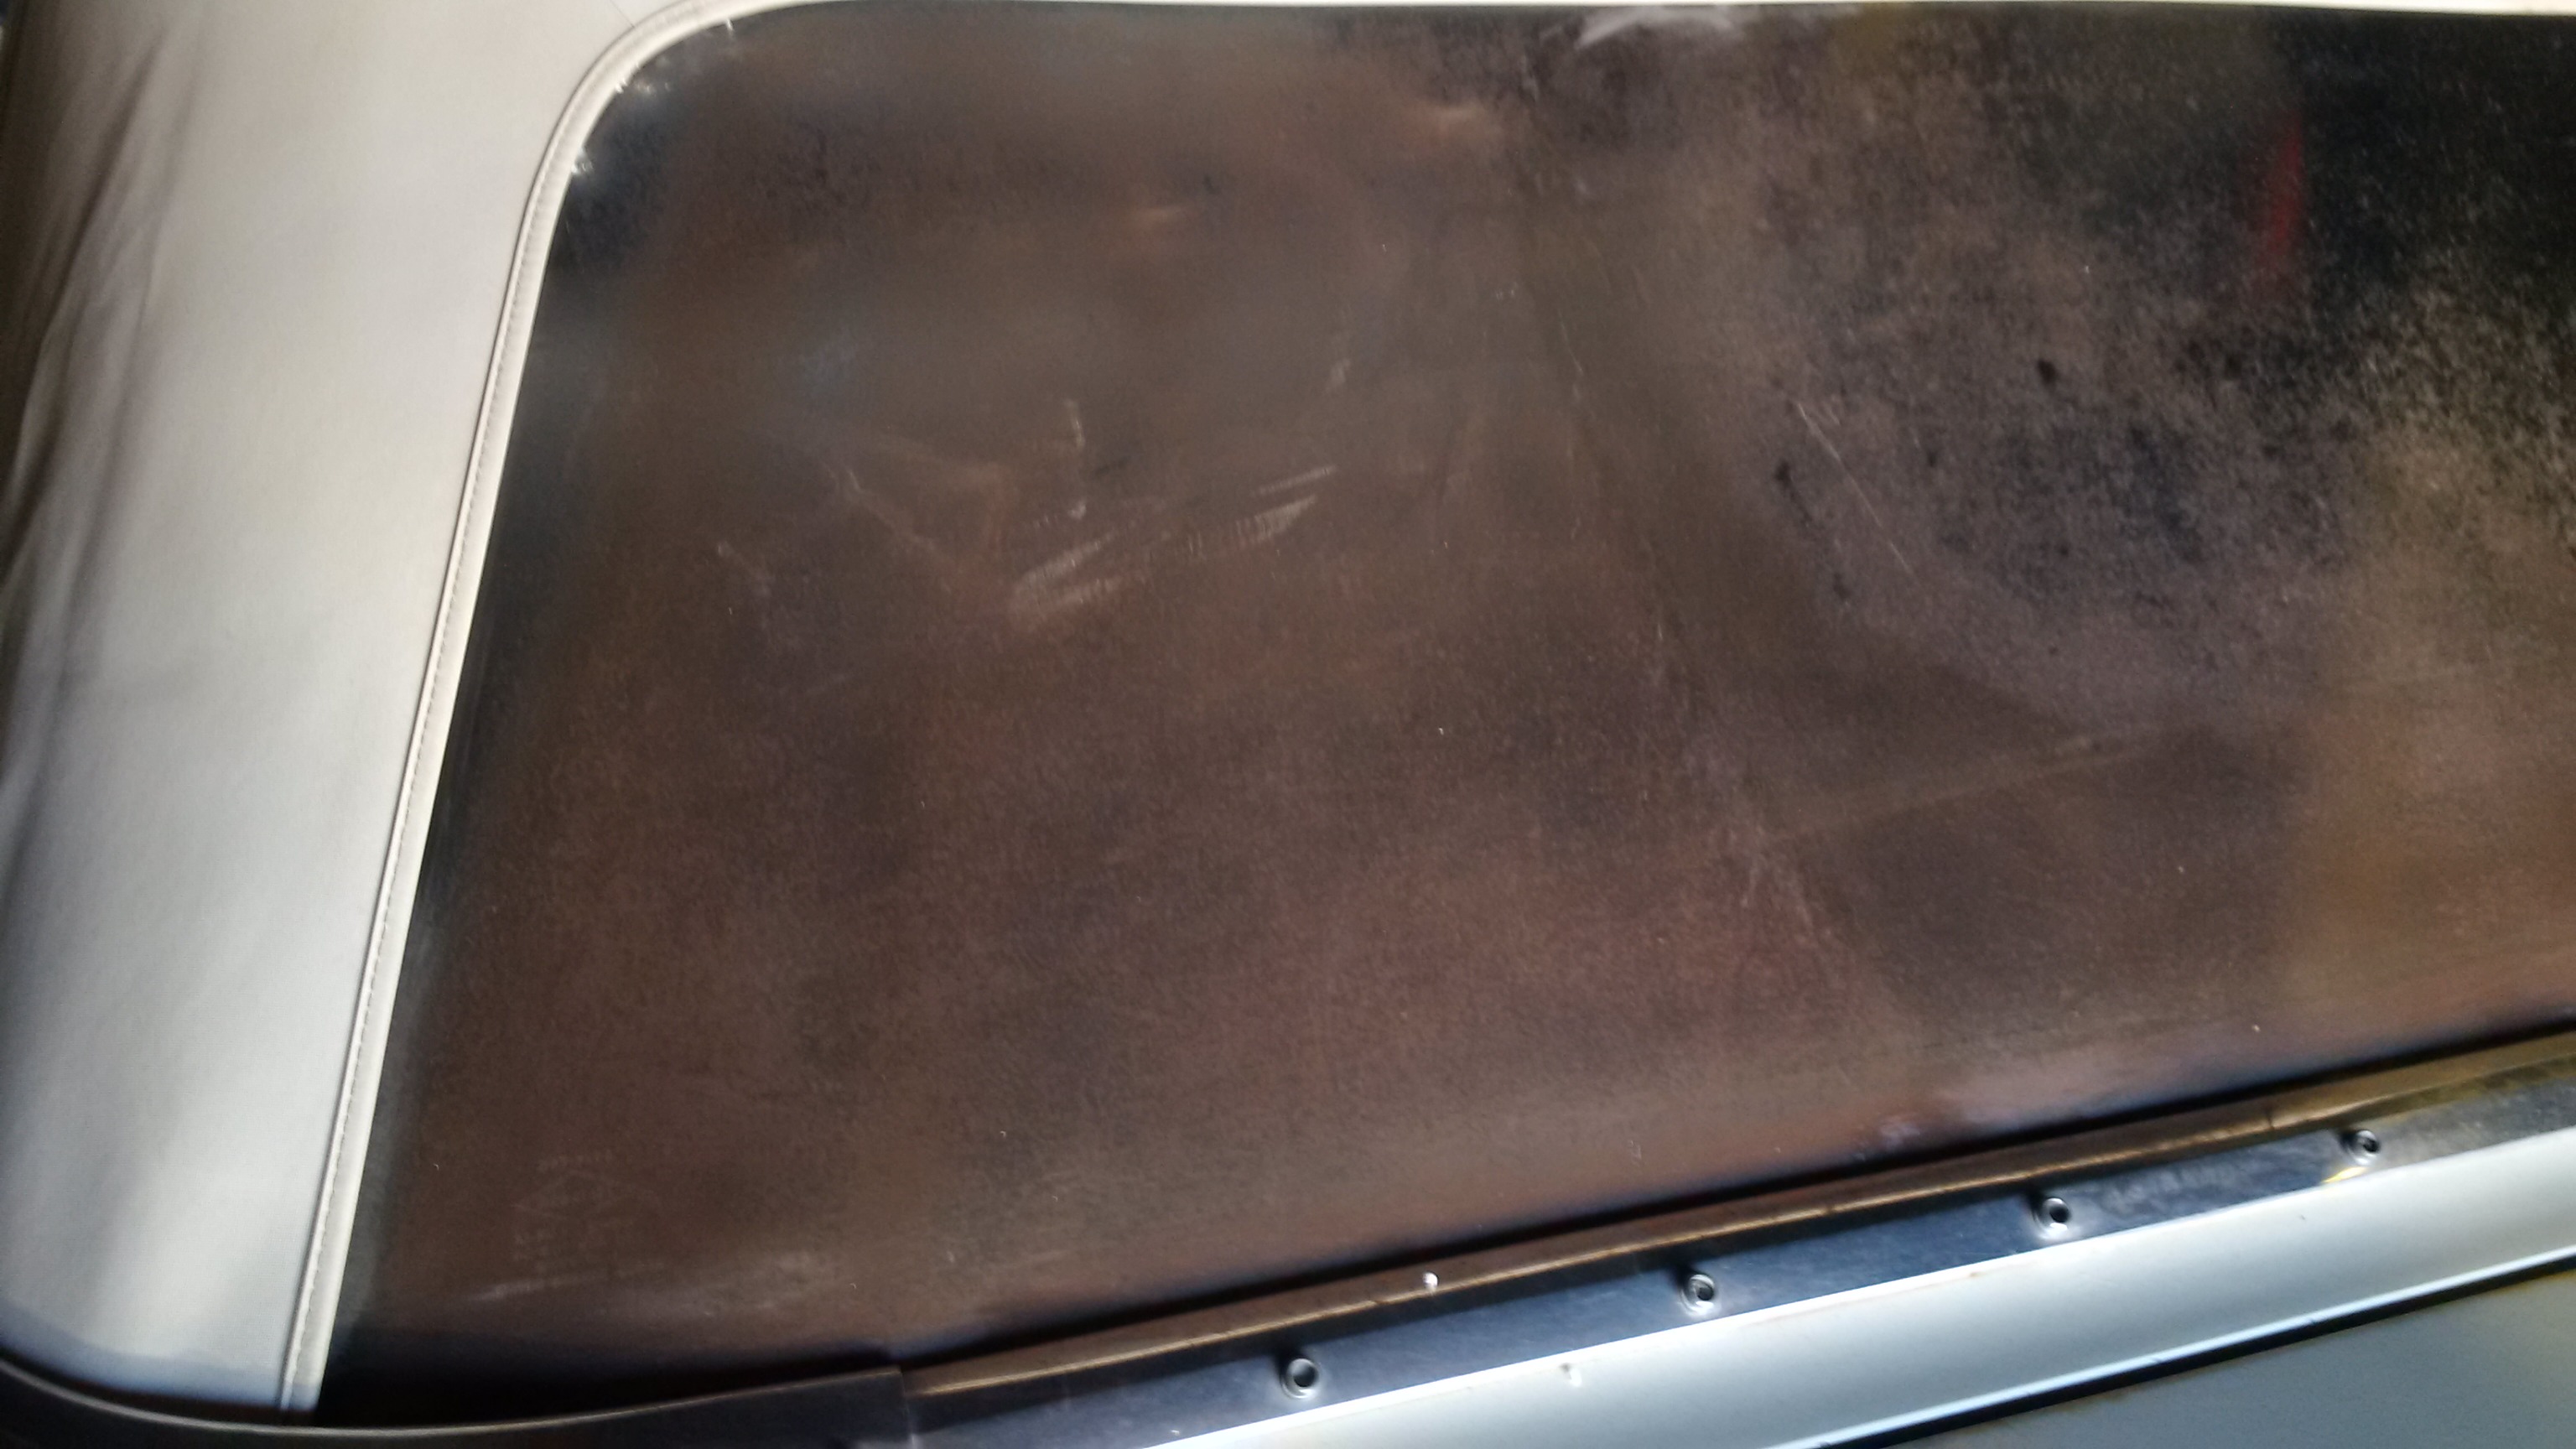
We spent time in order to get the rear window cleaned up using Meguires Plastix…… There is still much to be done with it however, each time we work with it the rear window cleans up more and more. Take a look at the before and after shots as there is a noticeable difference between the 2.
Here are the after shots
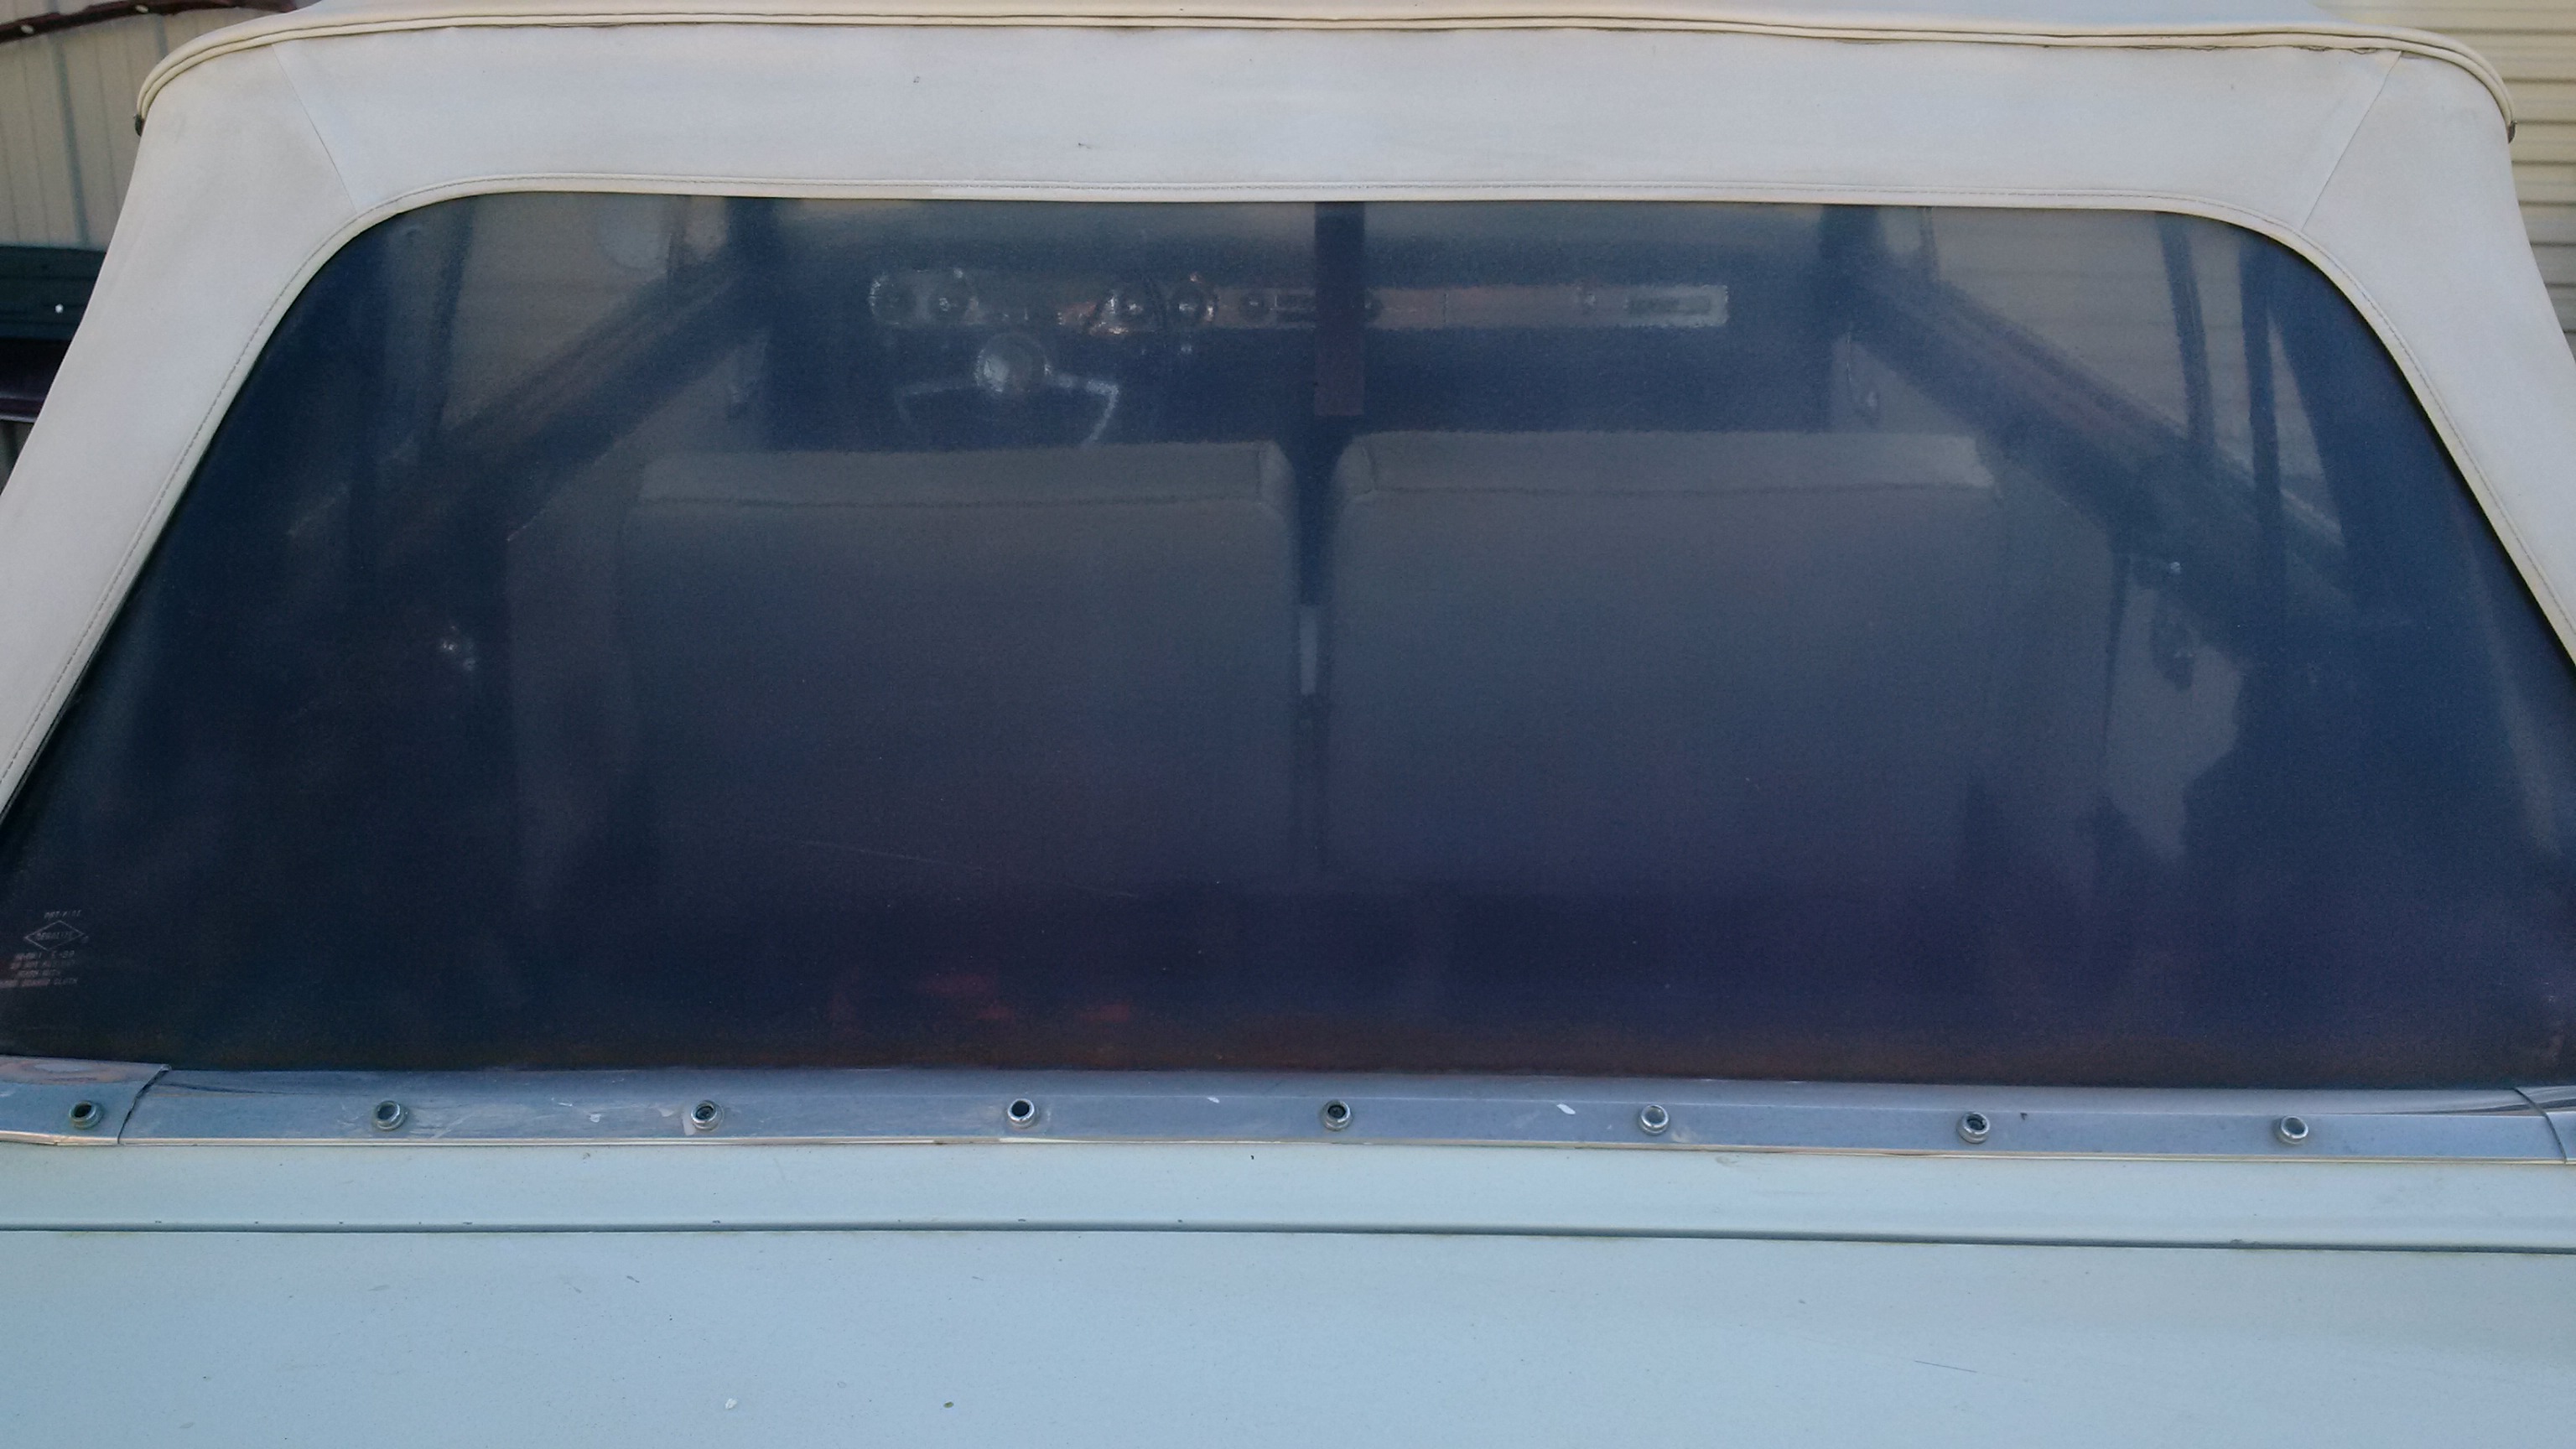
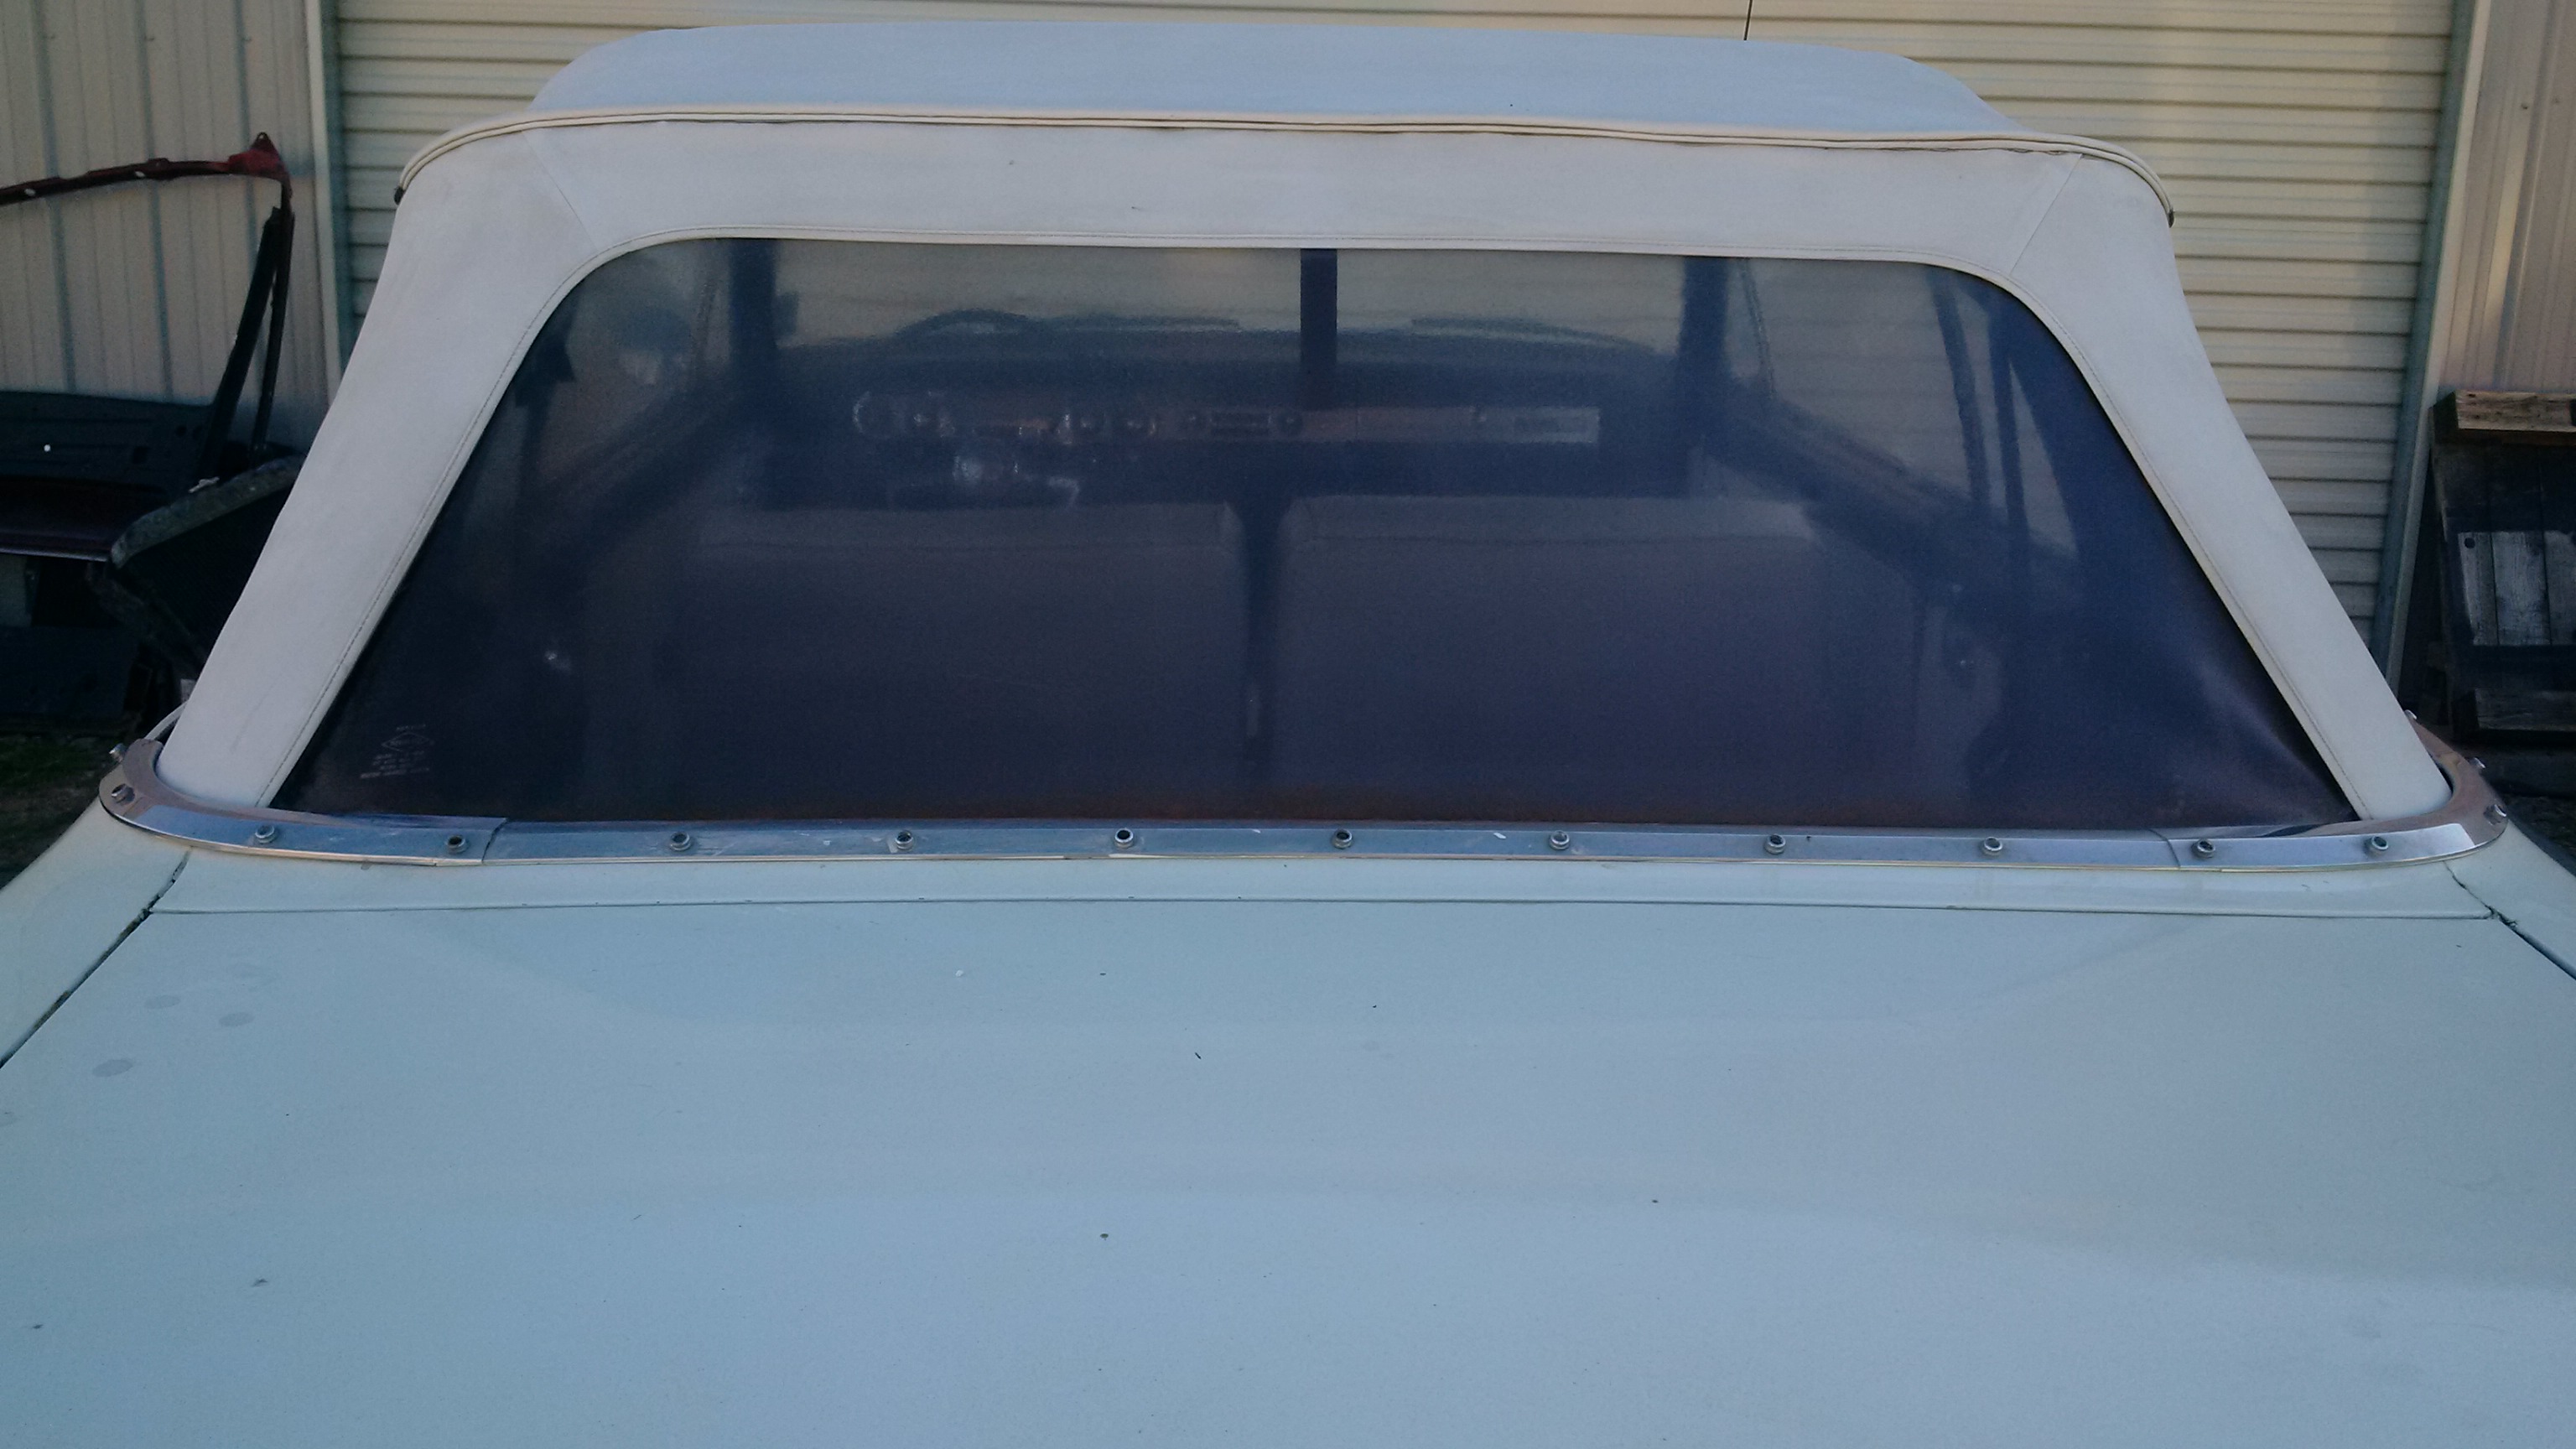
Much better….at least you can see out of it now.
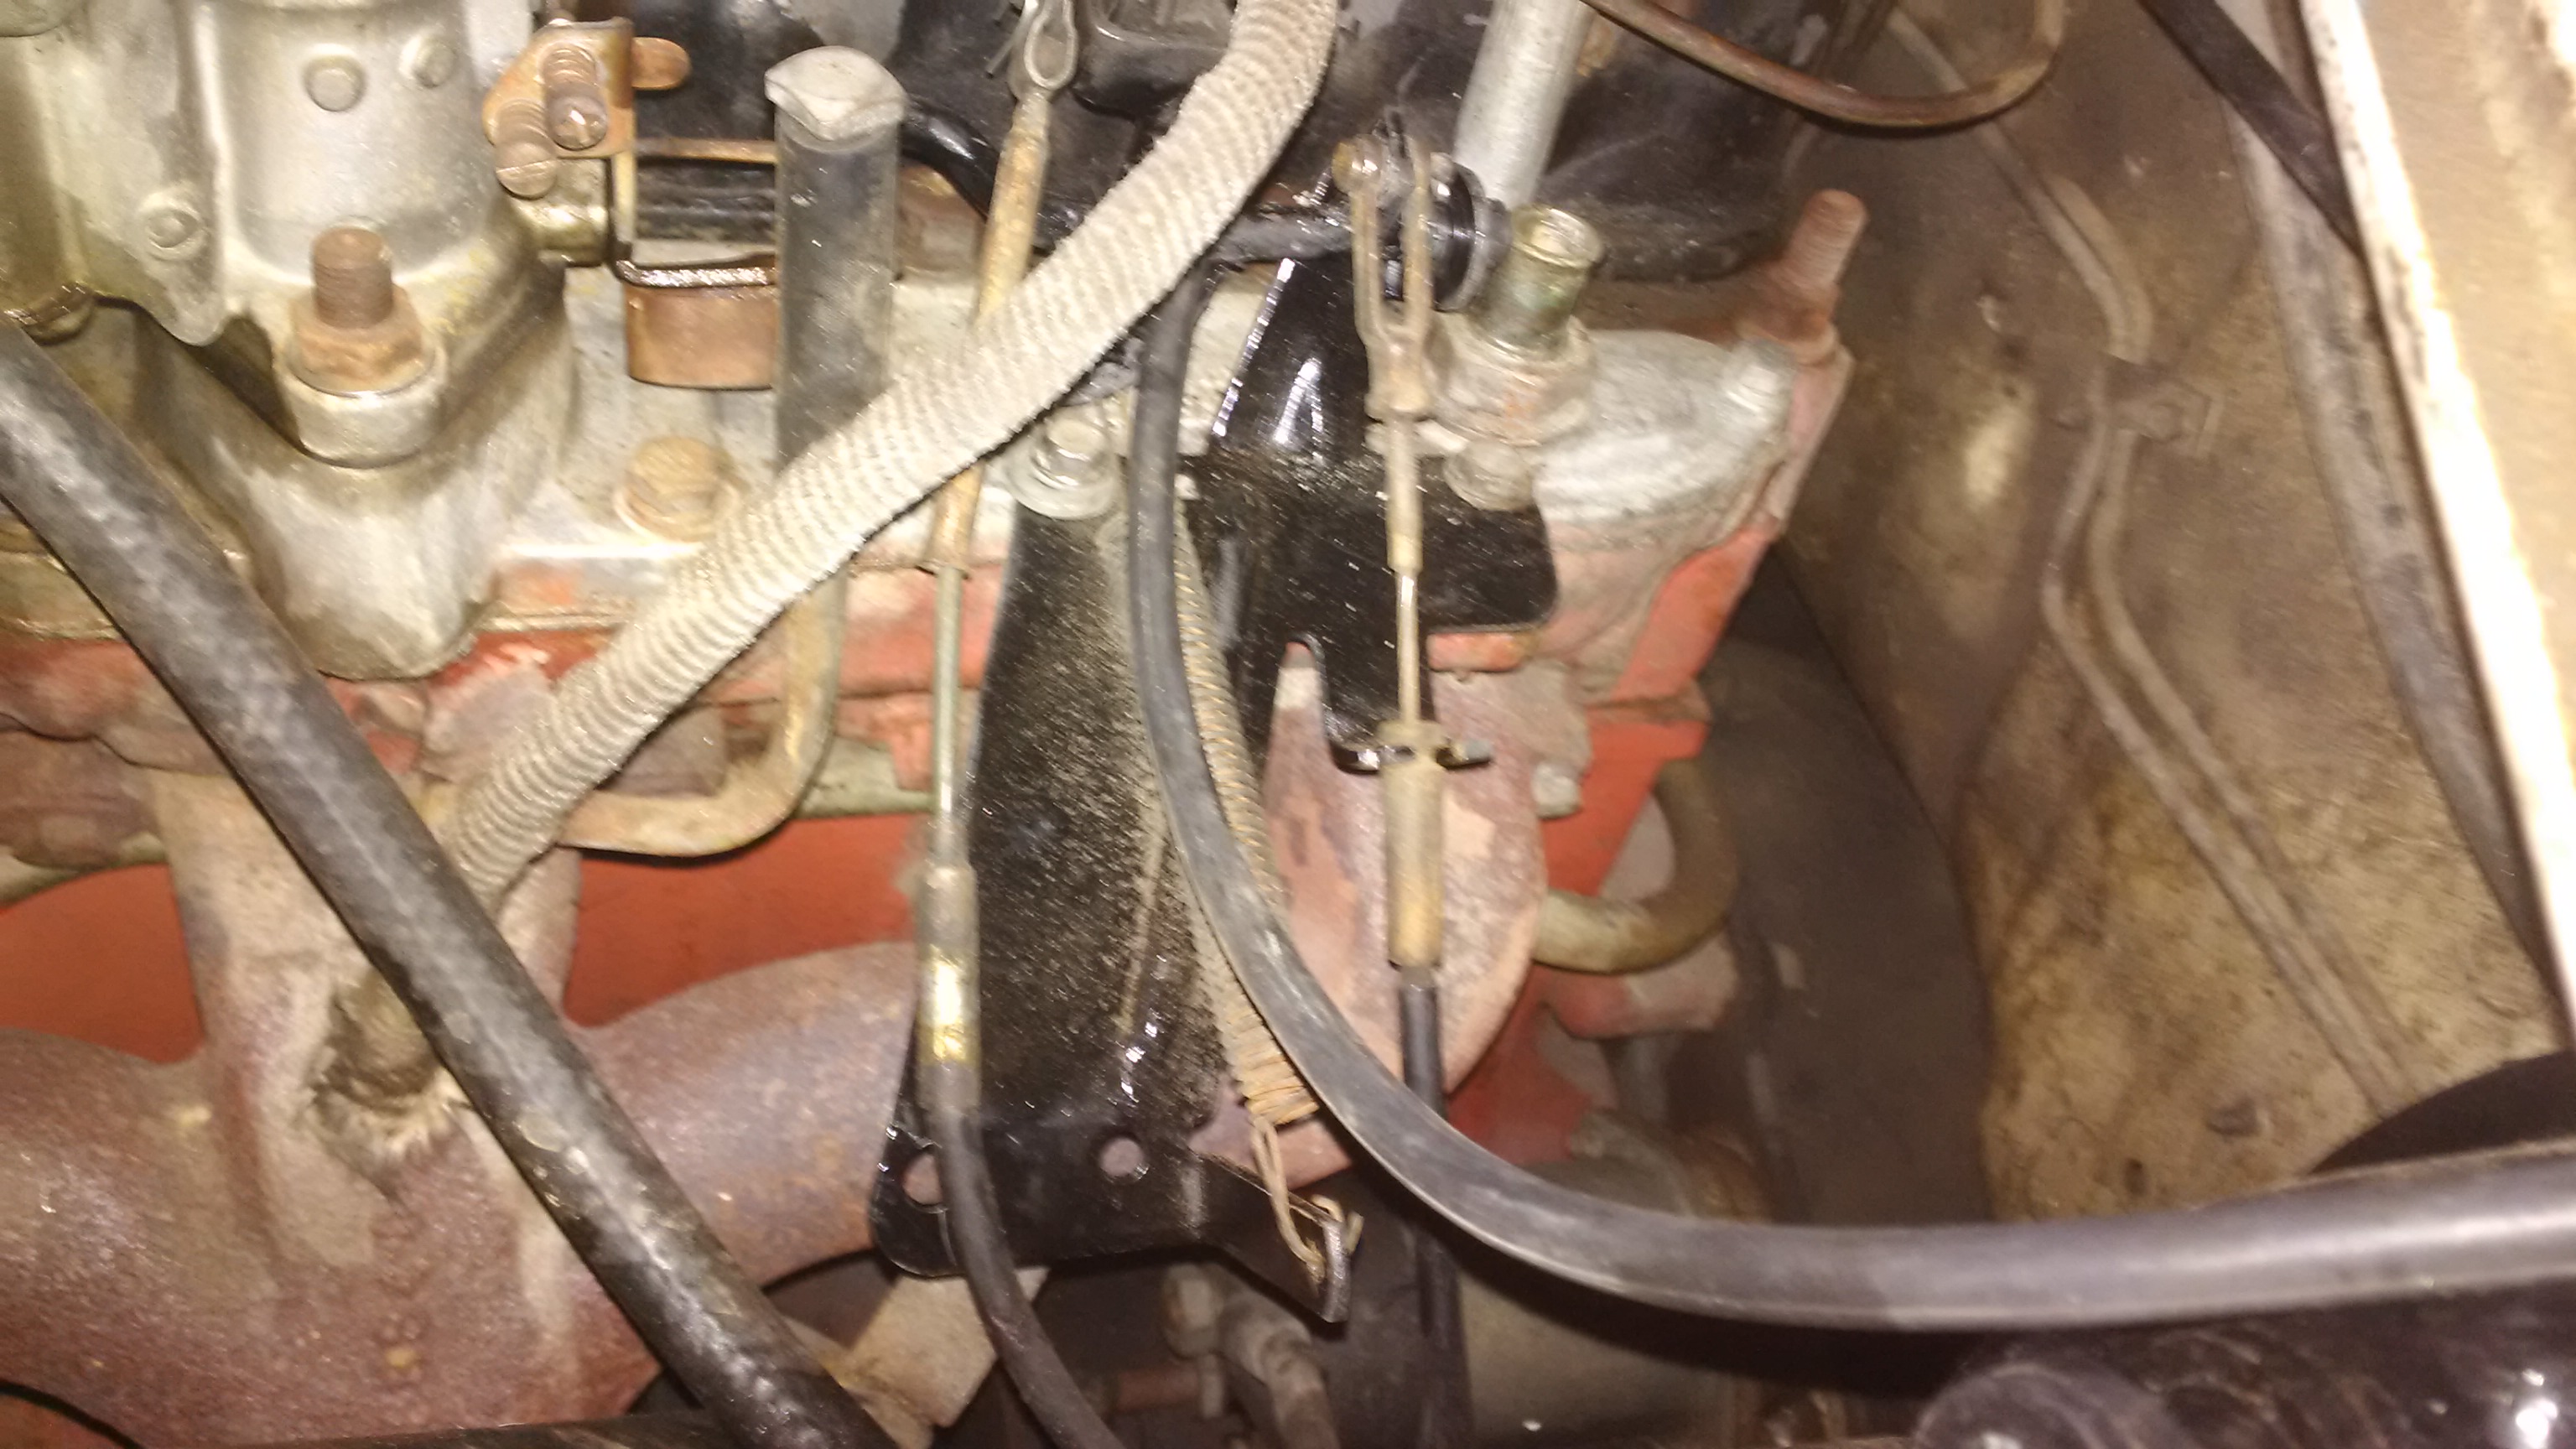
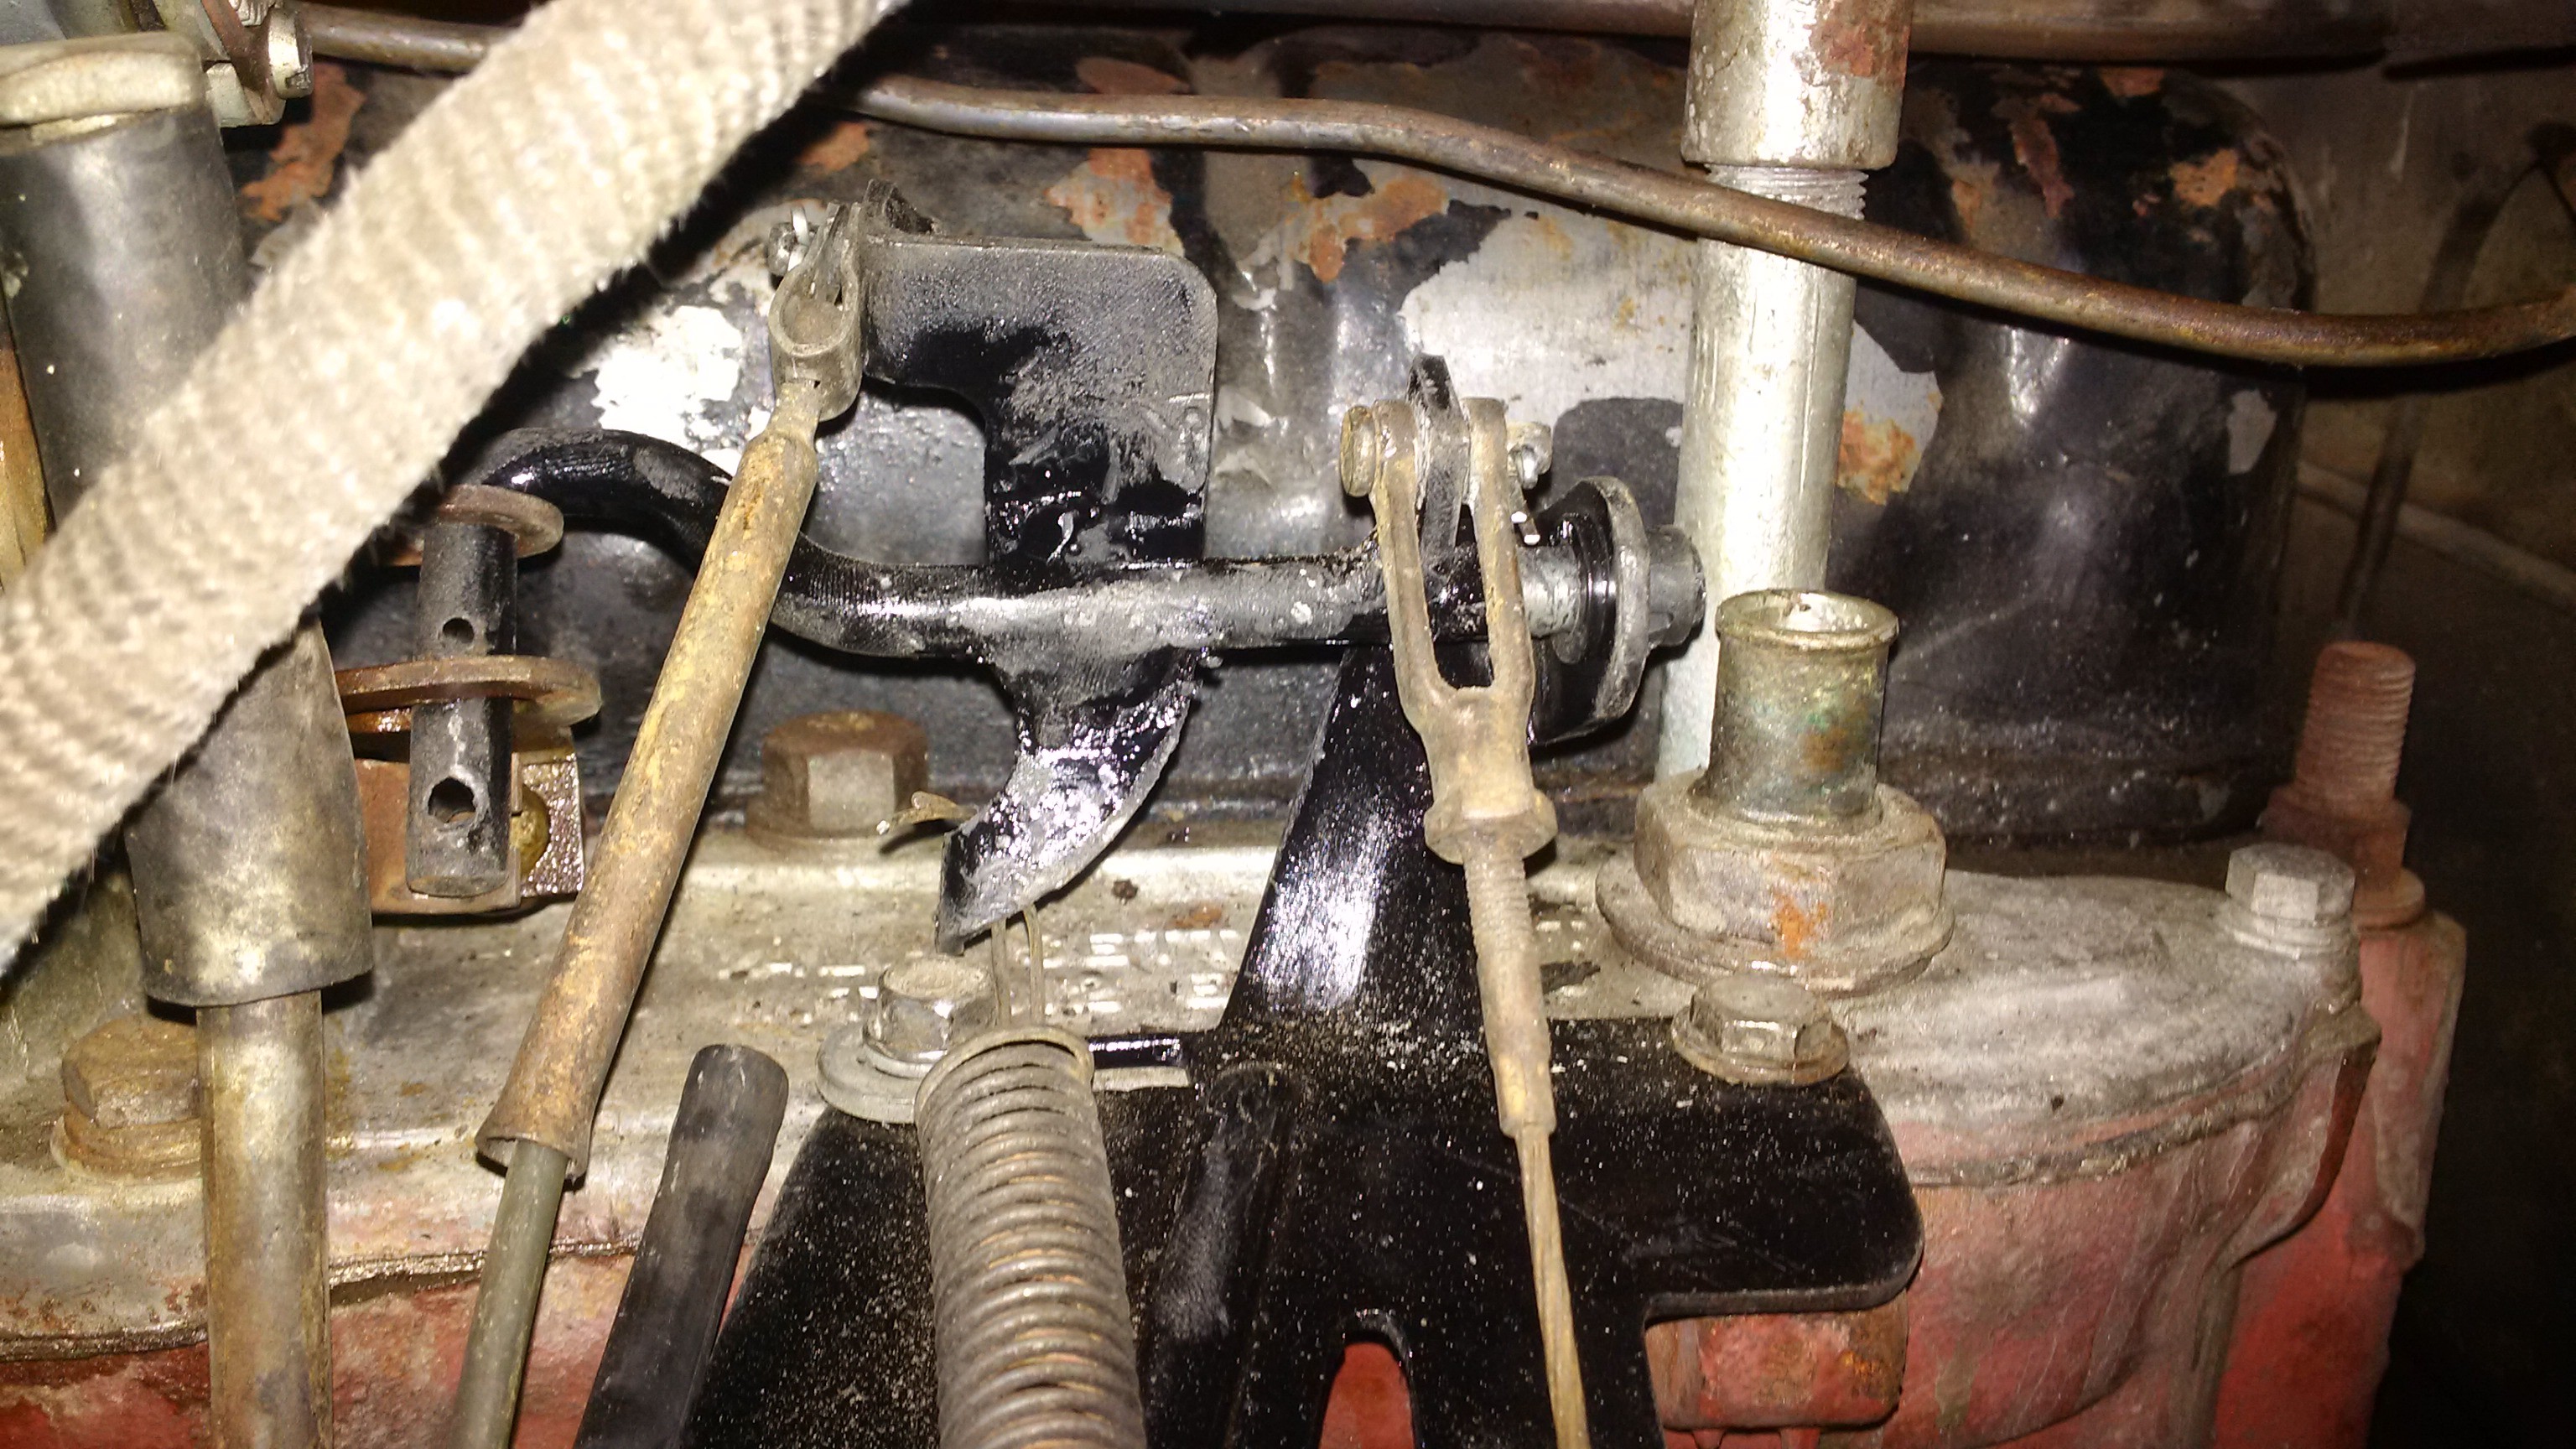
I also spent the time to rebuild the accelerator linkage since it was in a varying state of falling apart. I had to find several different linkages to combine and make one good one. I dont have any before shots I am attaching a few after shots. Looks and functions much better and I dont have a dozen springs hanging around trying to get all the separate linkages to work with one another. I have a high idle now along with being able to adjust the carb idle circuit as well. I was able to lean the mixture out considerably so I hope that it helps improve the gas mileage.
A few other things to note are we adjusted the valves in the valve train and were able to quite the motor up substantially. we can even hear ourselves now when talking while driving down the road.
I also purchased another set of Hood hinges and reinstalled the hood. It went together much nicer however, it still has issues. I have made an appointment down at the frame shop to have them check the unibody alignment since the fenders and the grill are all out of whack too.
We also had the chance to take the car down to discount tire and have the tires balance. In the process we found 2 rims that were bent. The decision was made that we will update the rims to what is shown below as soon as we can save some more money for the tires.

Lastly I purchased a core 2 barrel carb for it so we can get a performance boost from it. I have it soaking in some vinegar now to see if I can free the lower butterflies from their encapsulation in rust. Hopefully I will see some results soon. I know it will take some time for the vinegar to work its way through the throttle rod in the base plate. Im keeping my fingers crossed. In the mean time I will look and see if I can get a stud kit from ARP based on a write up I was reading about replacing the head bolts with studs to reduce the need to have to retorque the head every 8-10k miles. Take a look below for the link and the write up
Link Below Courtesy of http://worldpowersystems.com and is only being published here for informational purposes. The writer deserves the credit for the research and original implementation.
ARP head studs
Hot-rodding the Nash/Rambler 195.6 overhead valve six
24 May 2010
Update 13 June 2010

The AMC 195.6 OHV engine has a history of leaking headgaskets that show up in doddering old age, after years of accumulated maintenance issues. The bottom line symptom is that the factory recommended a 4000/8000 mile headbolt retorquing schedule, required because the headbolts back out due to thermal stress caused by an inherent cylinder head cooling system design flaw. I believe I have a very simple fix for this problem. Please refer to the cylinder head cooling and sealing for further details.
One part of the overall head-sealing fix was the use of ARP brand studs instead of head bolts. Studs are superior to bolts for this application. When a head bolt is torqued, it remains twisted along it’s length, due to friction in the threads and under the bolt head. Any transverse motion in the head (caused by thermal cycling…) backs out the bolts. With studs, all of this friction is at the top of the stud, which remains un-twisted. Quality and tolerances are better too.
Since ARP doesn’t make a “kit” for this motor and my application isn’t particularly stressful on the studs, I simply picked their stock parts from the catalog. There are three different stud lengths. They are coarse threaded at the block end and fine threaded at the top. Twelve-point nuts, machined washers and ARP lube was used. Part numbers are below.
| Item | ARP part number | Quantity | Location |
| Stud, 7/16″ x 5.75″ | AP5.750-1LB | 6 | Through trough plate |
| Stud, 7/16″ x 5.5″ | AP5.500-1LB | 4 | Head ends |
| Stud, 7/16″ x 4.5″ | AP4.500-1LB | 5 | Under valve cover |
| 7/16″-20 Nut | APN12-1 | 15 | |
| 7/16″ ID non-chamfer washer | APW1316N | 15 | |
| Assembly lube | n/a | 1 | Thread lubricant |
Assembly
This was a full engine rebuild and requested special care on the block deck and head mating surfaces. I checked them with a 24″ straightedge and could not find any dips or high points on the block more than .001″. Surfaces were meticulously clean and taped up until assembly.
I installed the engine in the car with the head off (block deck taped up for cleanliness) and planned on doing what I did in the lab, install two studs as guides and lower the head over them. Long before I bought parts I checked that this could be done, thinking that there could be firewall clearance problems. I neglected to notice that  the thermostat pod at the front of the block interfered with the fender brace. This necessitated using the engine hoist to hold the head an inch over the block while I inserted two studs through the head into the block. This wasn’t as hard as it sounds, and in fact with the head on the hoist the job was quite casual, just minor jockeying for alignment.
ARP recommends three torque/release cycles on new studs. I did four, without the headgasket, since that gets a one-time crush. I left the third torque to set overnight. After final assembly with gasket in the car (see the assembly pages for gasket sealing details), I measured stretch on one stud at .012″ when torque increased from 20 ft/lbs to the rated 75 ft/lbs. Thanks to David Forbes for the suggestion.
The studs were bottomed in the block and snugged up with an allen key two-finger tight, assembled with ARP hardware and lube and torqued in three stages to the rated 75 ft/lbs. I did not start it until the next day.
Retorquing
Retorquing ARP studs is utterly different from working with stock head bolts. I used ARP’s special moly bolt lube and the difference was night vs. day. When re-torquing, there is no typical “sticktion”, no need to crack the nuts loose before torquing; they simply turn, then stop. Part of this is simply that the clamping friction is in the nut, at the top of the stud, and not a twisted bolt deep in the block.
The head studs have been retorqued three times since first assembly. The first re-torque followed the first full operating temperature run in the driveway to set valves, initial carb and spark settings, after an overnight cool down.
Upon every retorque each nut rotated the exact same amount. This was good, because two end nuts will not accept a socket when the rocker shaft is installed; I used a box-end wrench and extender and turned them the same rotational angle as the rest did with the torque wrench. (And as far as I can tell, no one makes a 12-point box end crows foot socket.)
The third retorque, at 1000 miles, zero rotation. It appears that stud stretch and headgasket crush is complete. I will continue to check it at intervals, but hopefully the need for constant retorquing is over.
Here are some pics of the studs installed in the lab.
 |
 |
 |
 |
 |
 |
The stock head bolts penetrate the block exactly one inch. Placement isn’t that great, even to my novice eye; some are along casting side walls, and some are in the middle of horizontal spans. Headbolt spacing is wildly uneven, but there’s nothing to be done about that. Here are pics of the stock bolts and their protrusion through a section of a junk head:
 |
 |
Leave a Reply
You must be logged in to post a comment.